
M800 Noodle Sheeting & Forming Section
From compound sheeting through three corrugated stages and three smooth-roller passes to the noodle forming head. Review the main machine sequence and its roller, drive and transfer details.
Explore the 8 stages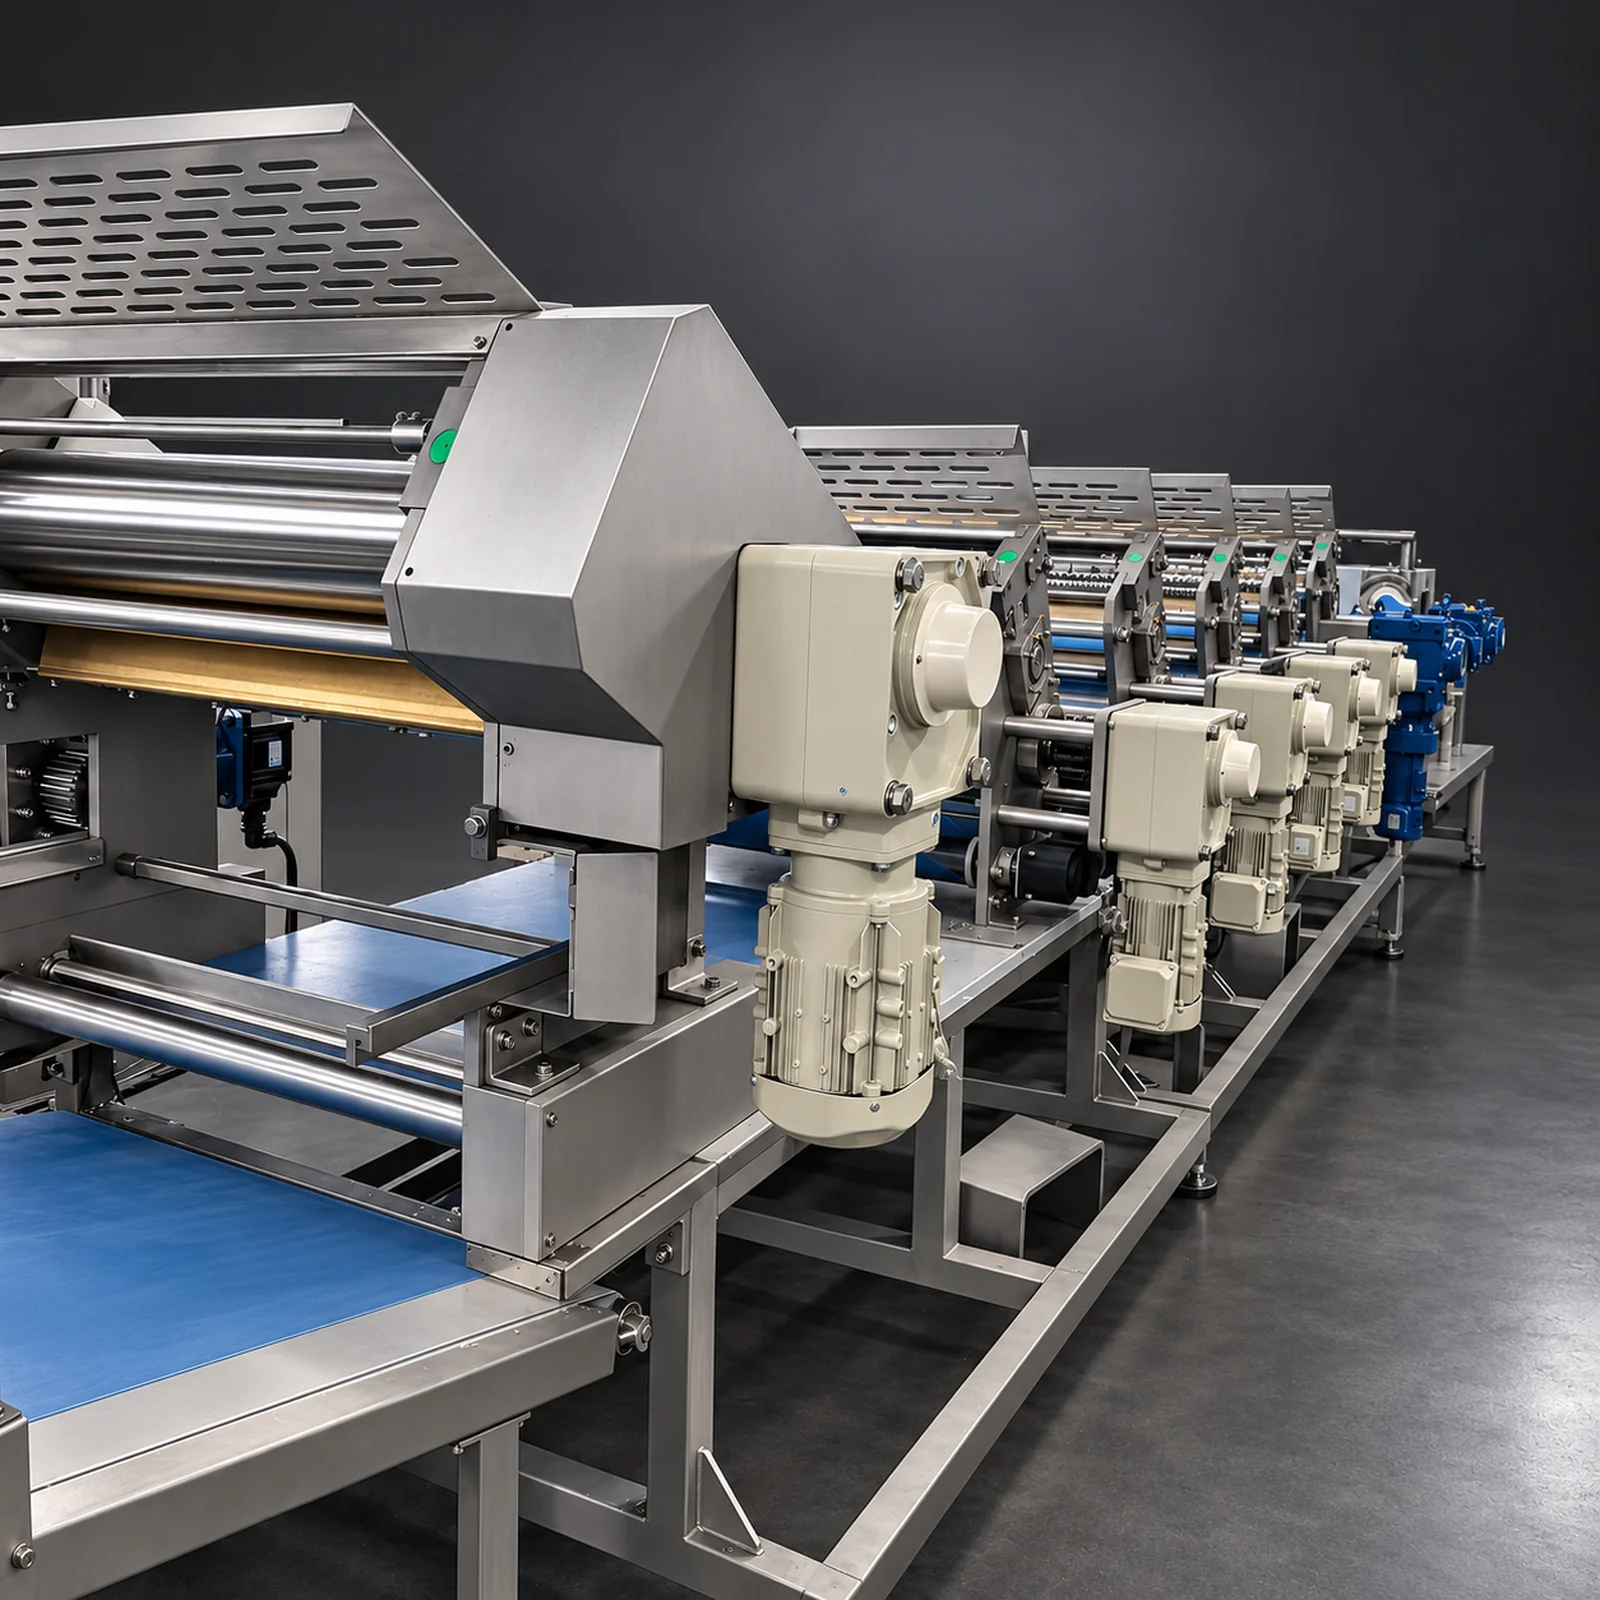
Eight stages, in working order.
Compound sheeter → large-wave rollers → medium-wave rollers → small-wave rollers → smooth rollers × 3 → noodle forming head.
- 01
Compound sheeter
Combine and form the incoming dough into the band passed to the rolling bank.
Related Unit → - 02
Large-wave rollers
The first corrugated rolling stage in the confirmed M800 core arrangement.
Related Unit → - 03
Medium-wave rollers
Continue through the intermediate corrugated profile.
Related Unit → - 04
Small-wave rollers
Follow with the finer corrugated rolling stage.
Related Unit → - 05
Smooth rollers · pass 1
First of three successive smooth-roller stages.
Related Unit → - 06
Smooth rollers · pass 2
Continue sheet reduction through the second smooth-roller stage.
Related Unit → - 07
Smooth rollers · pass 3
Final smooth-roller pass before noodle forming.
Related Unit → - 08
Noodle forming head
Receive the prepared sheet at the noodle cutting and forming head.
Related Unit →
The three smooth-roller passes are separate stages. The linked Unit pages explain each equipment family; final M800 working width, roller settings, drive coordination and supplied scope follow the project configuration.
See how the roller stations connect.
Take a closer look at the successive roller stations, blue transfer conveyors and geared drives. This short HELPER workshop tour complements the eight-stage arrangement above by showing how the equipment is laid out.
Equipment layout and component views; production output and final dough settings are confirmed separately for each project.
Look closer at the M800 body.
Explore the rollers, drives and conveyor transfers. Select any image for a larger view.
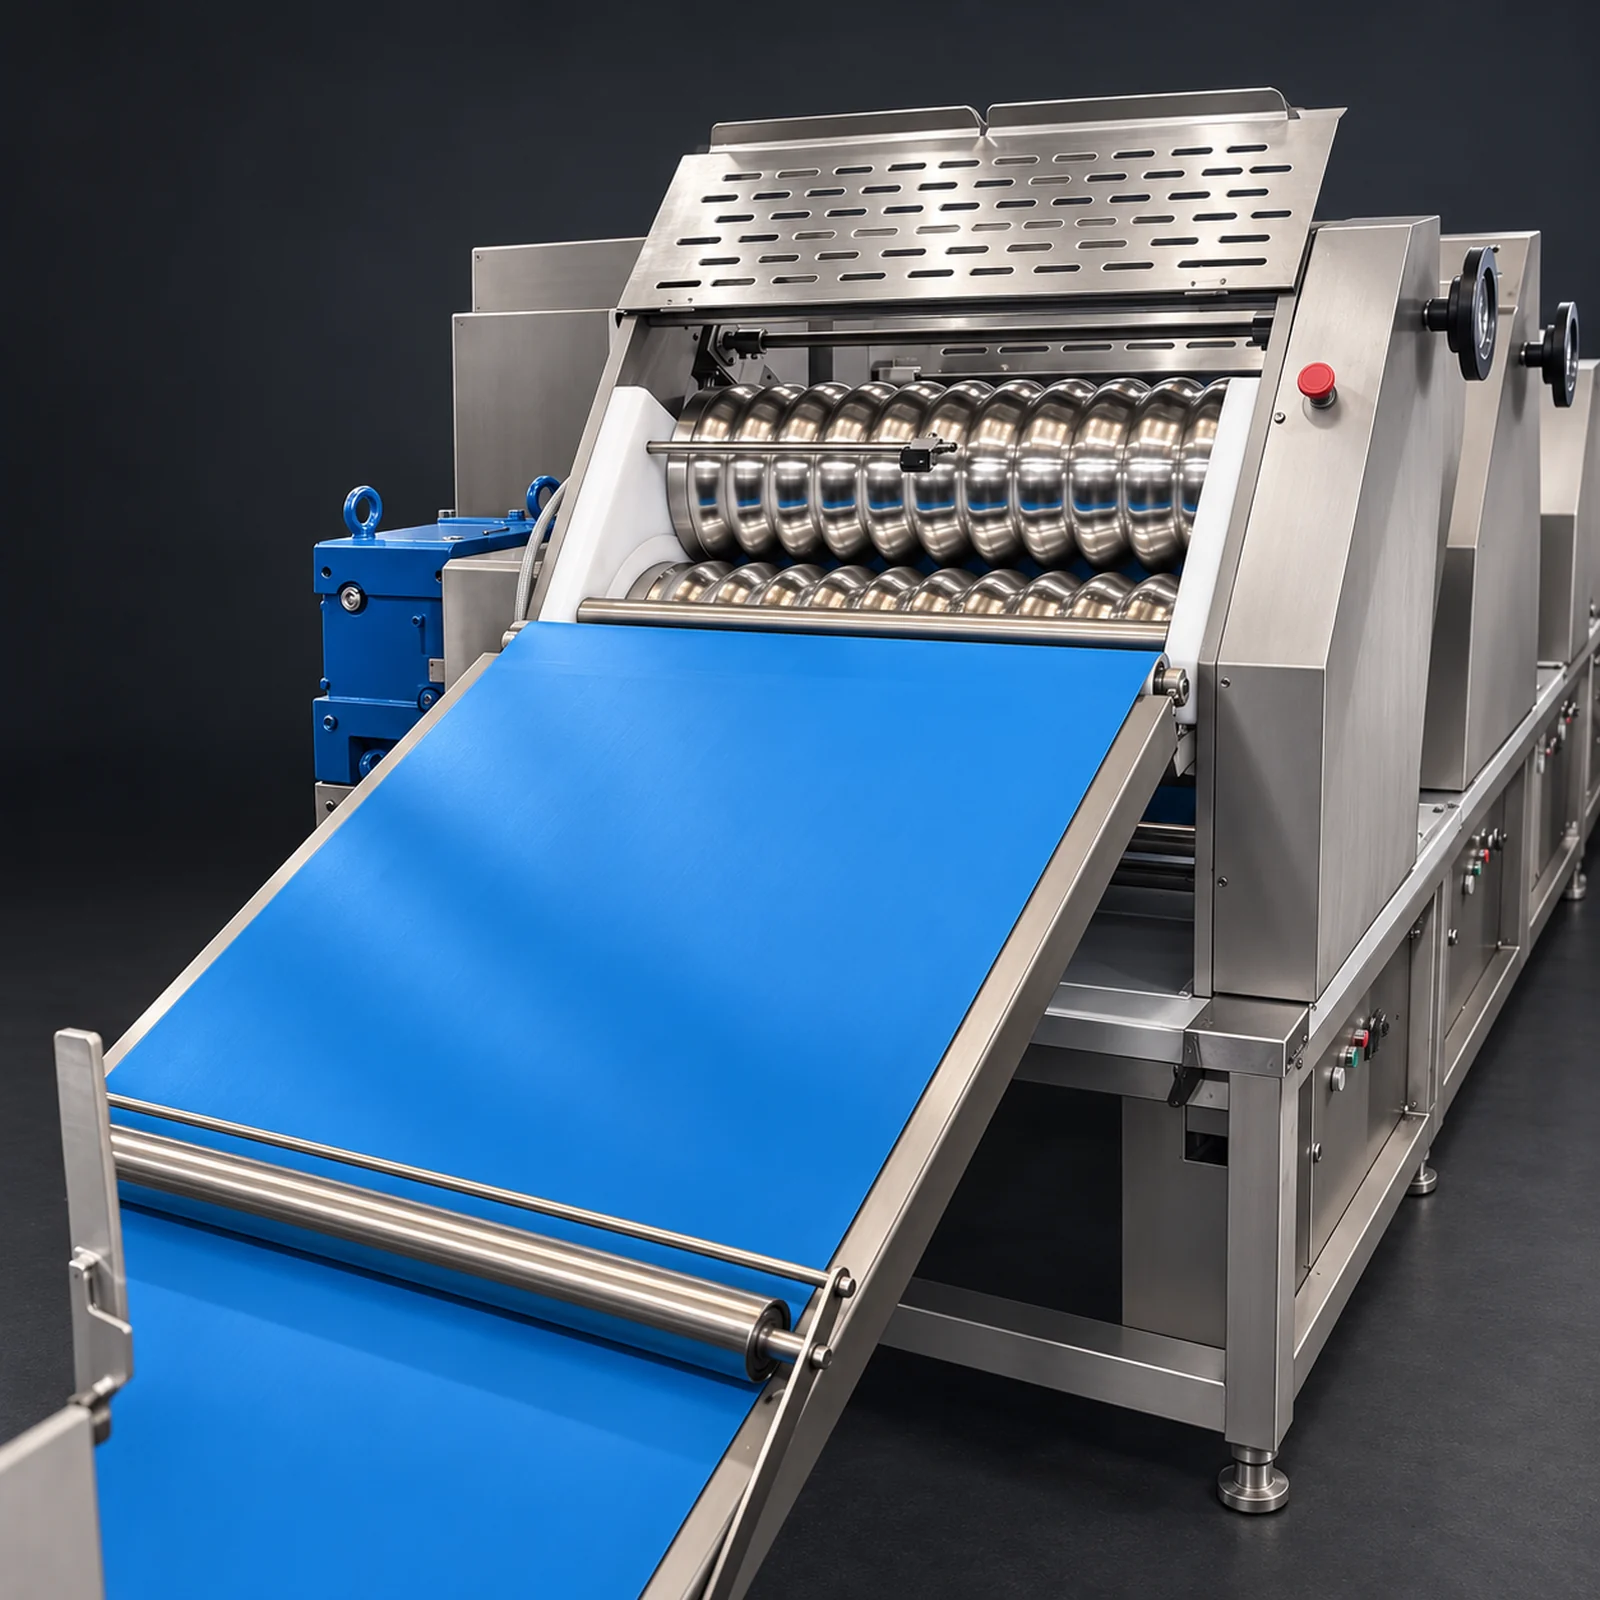
Large-wave roller station
Original workshop photo ↗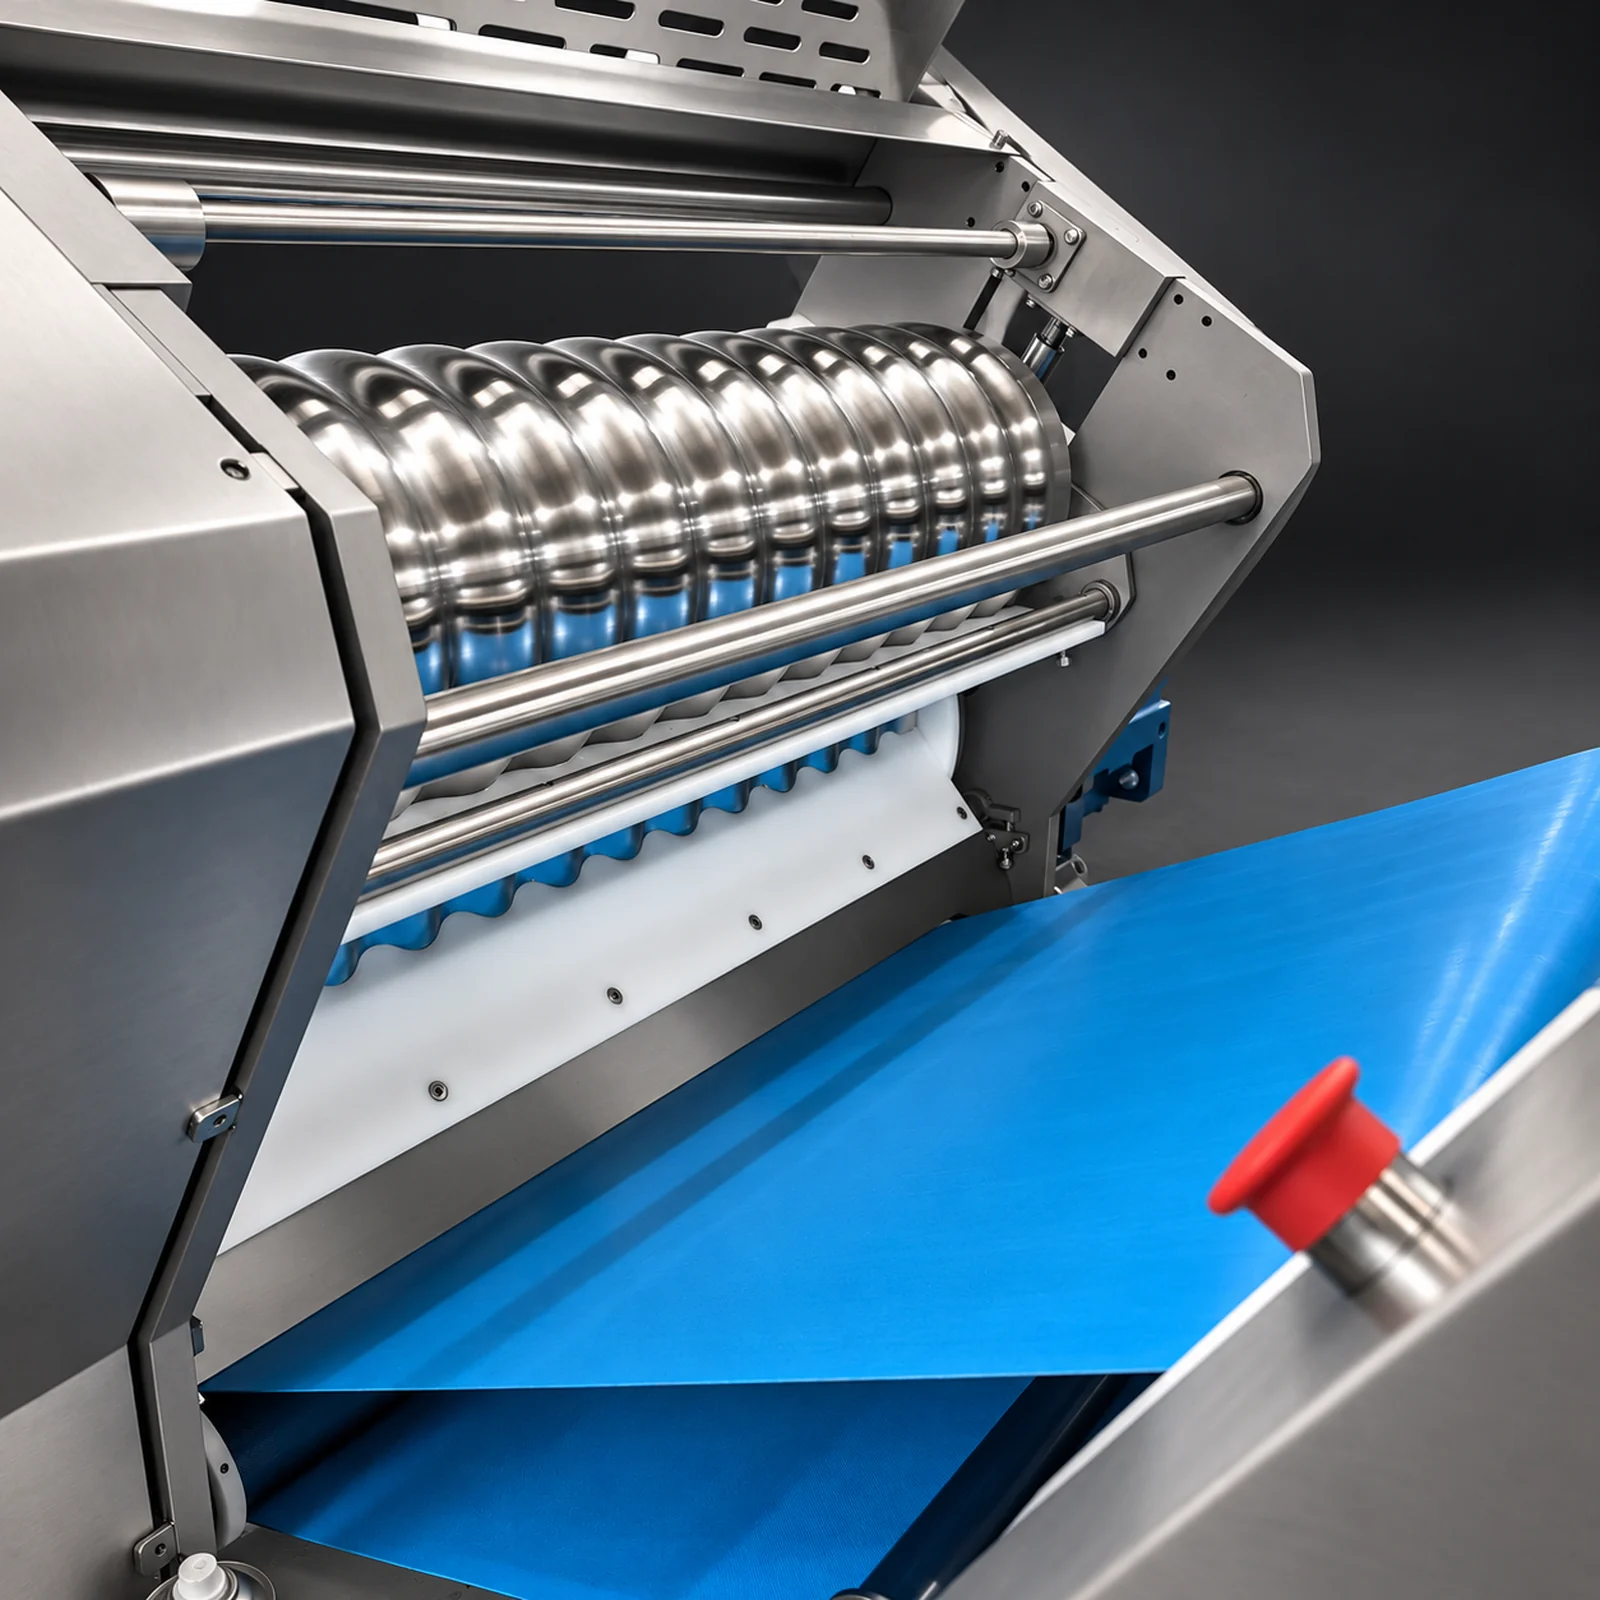
Rounded corrugated roller detail
Original workshop photo ↗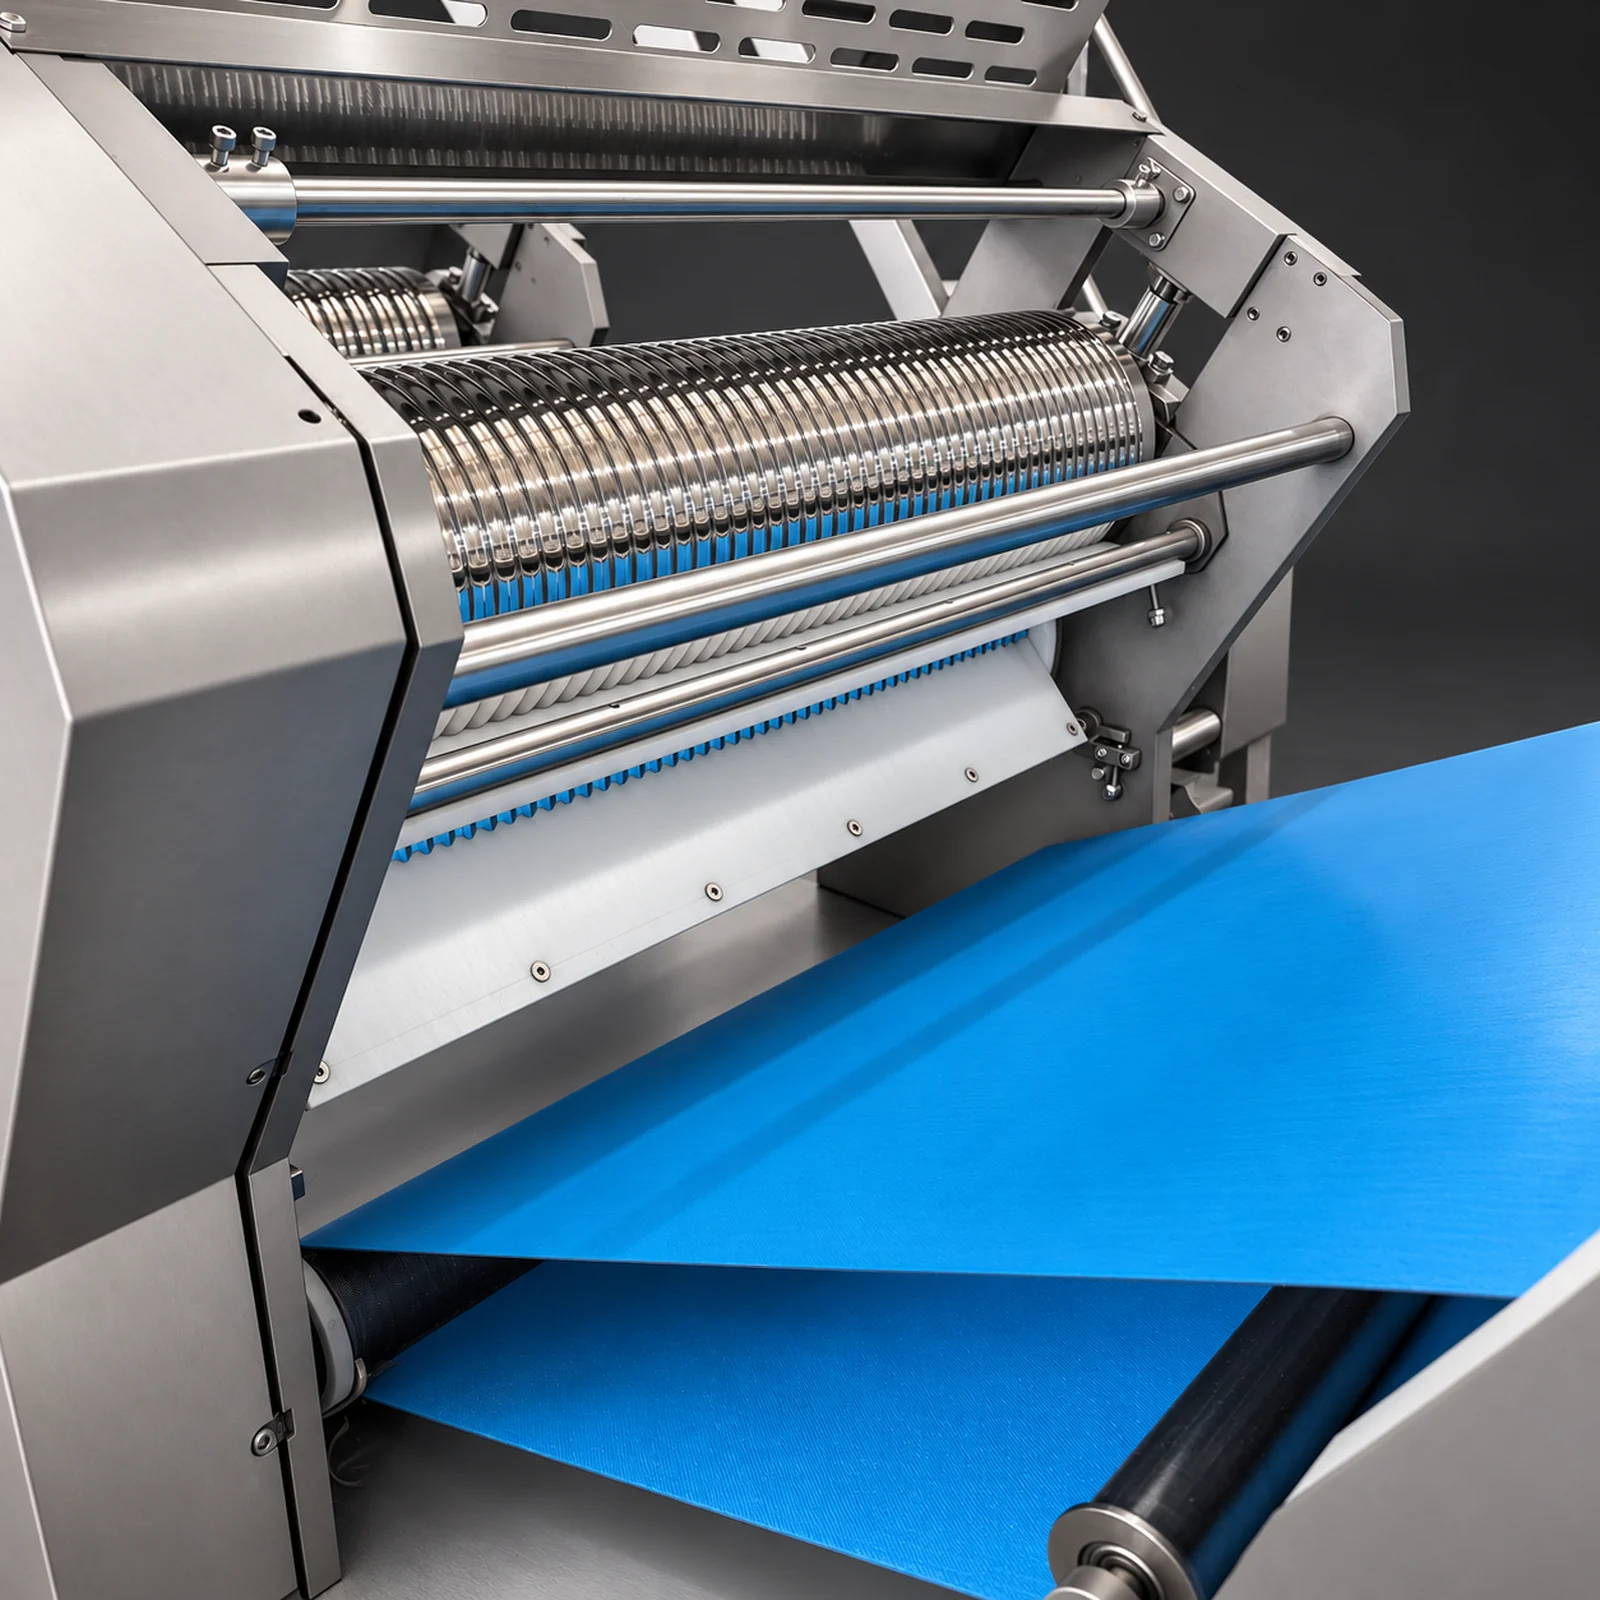
Fine corrugated roller detail
Original workshop photo ↗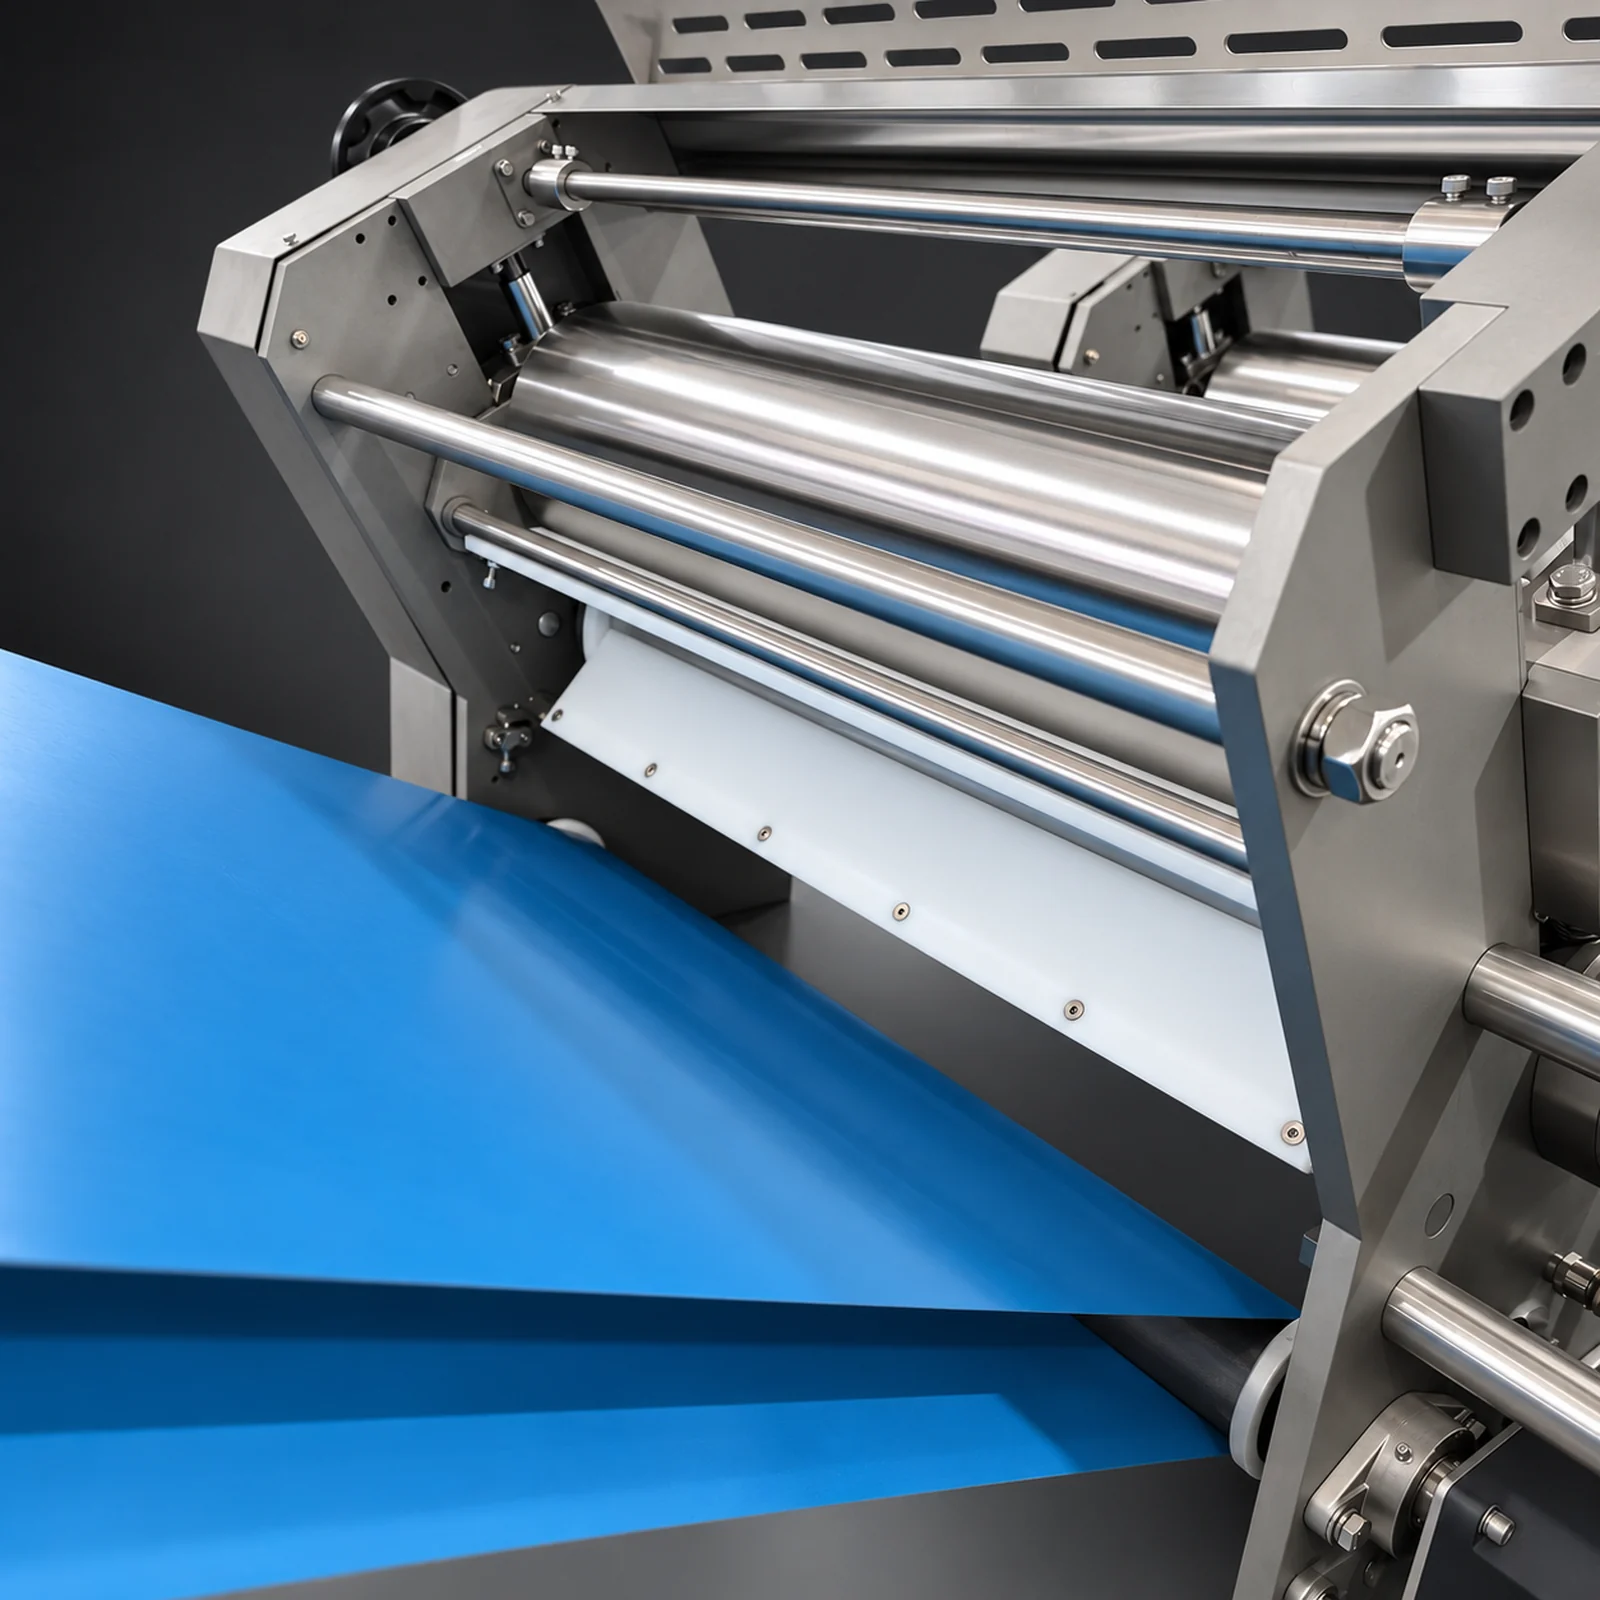
Smooth roller and scraper
Original workshop photo ↗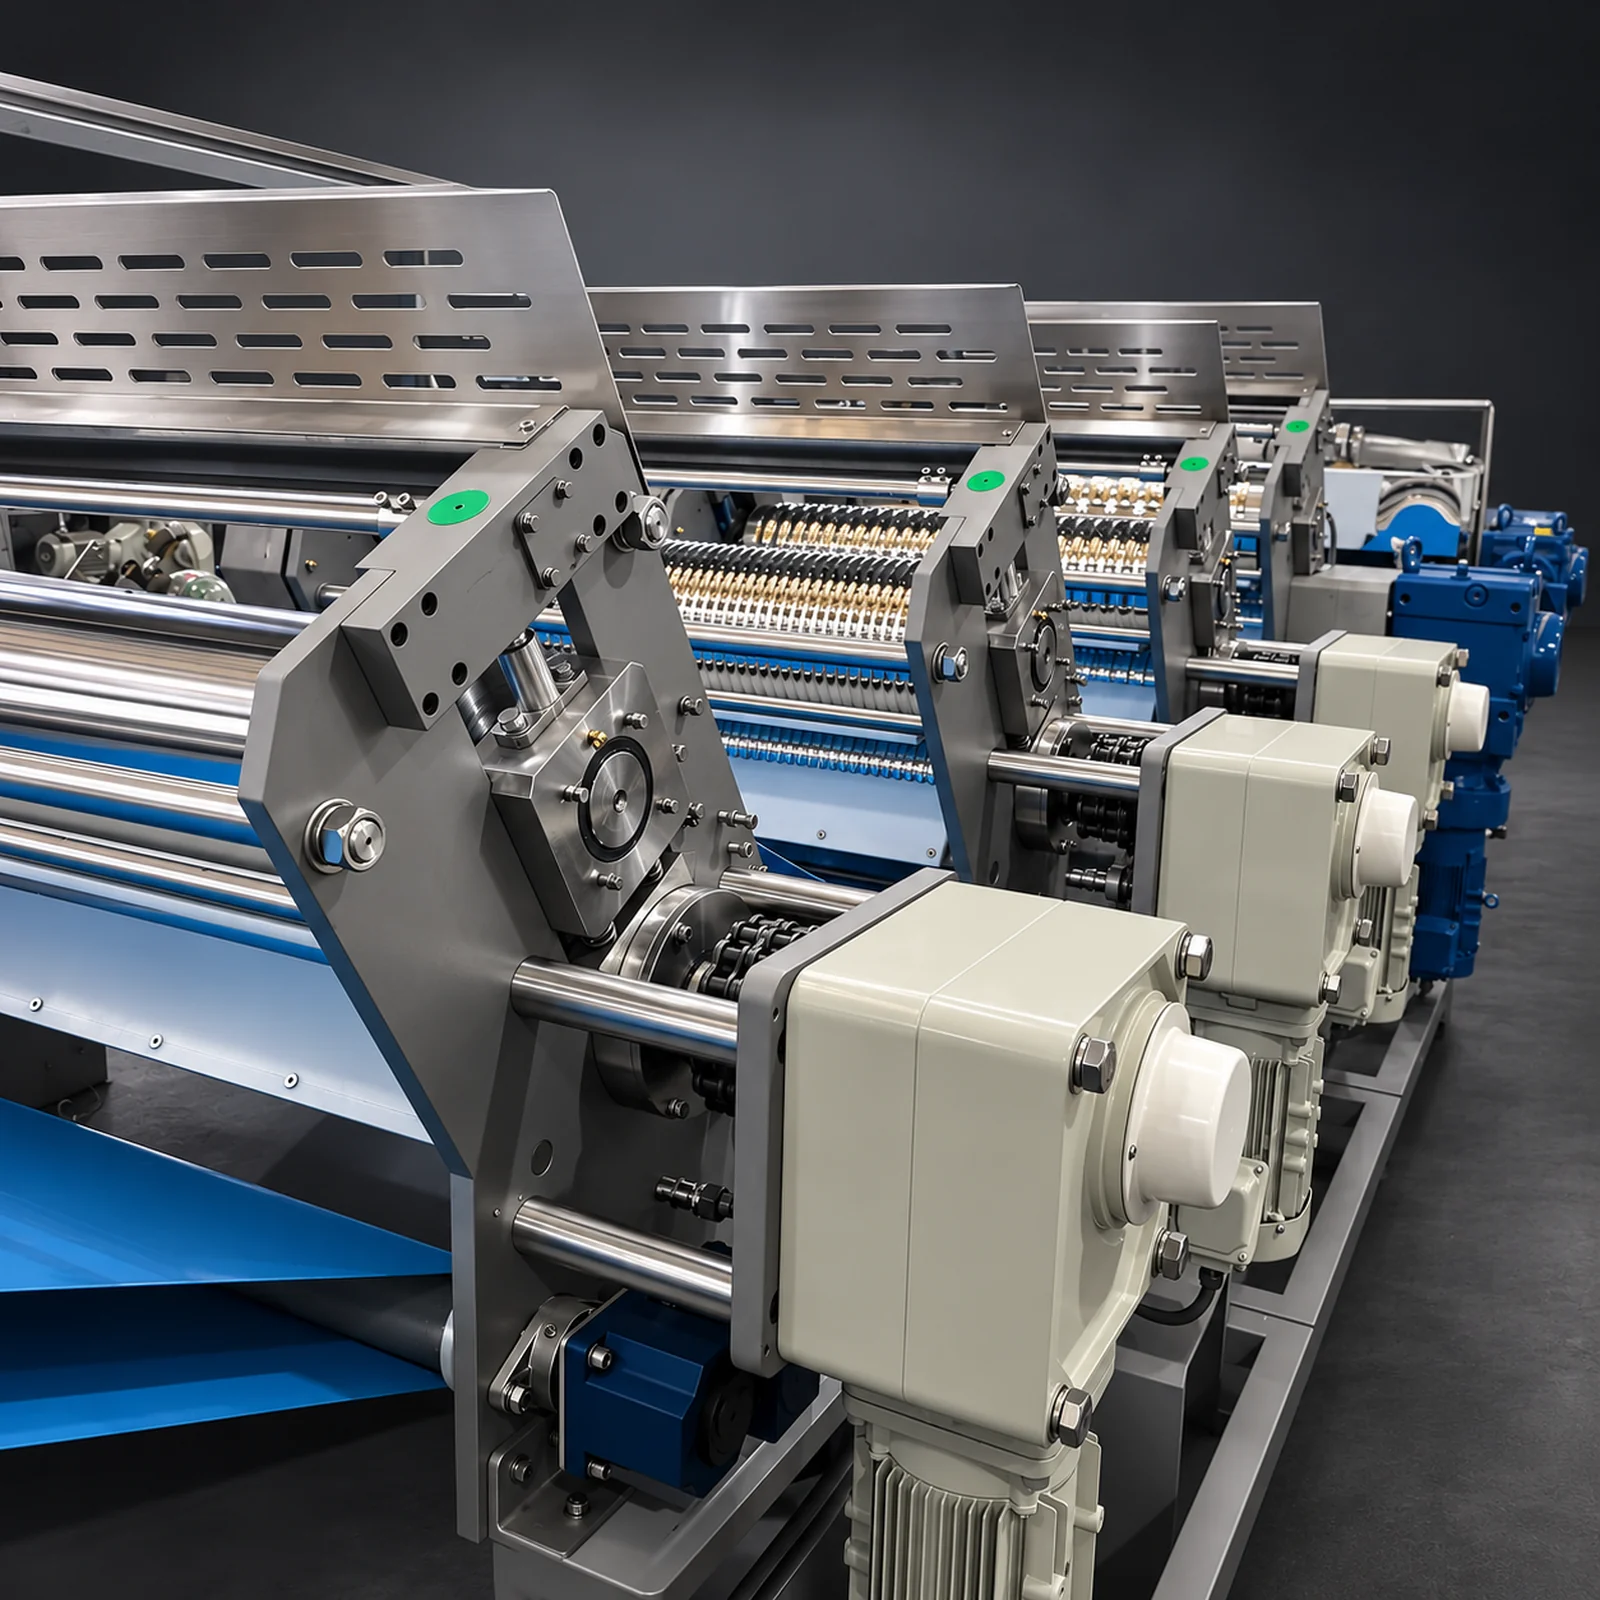
Successive roller stations
Original workshop photo ↗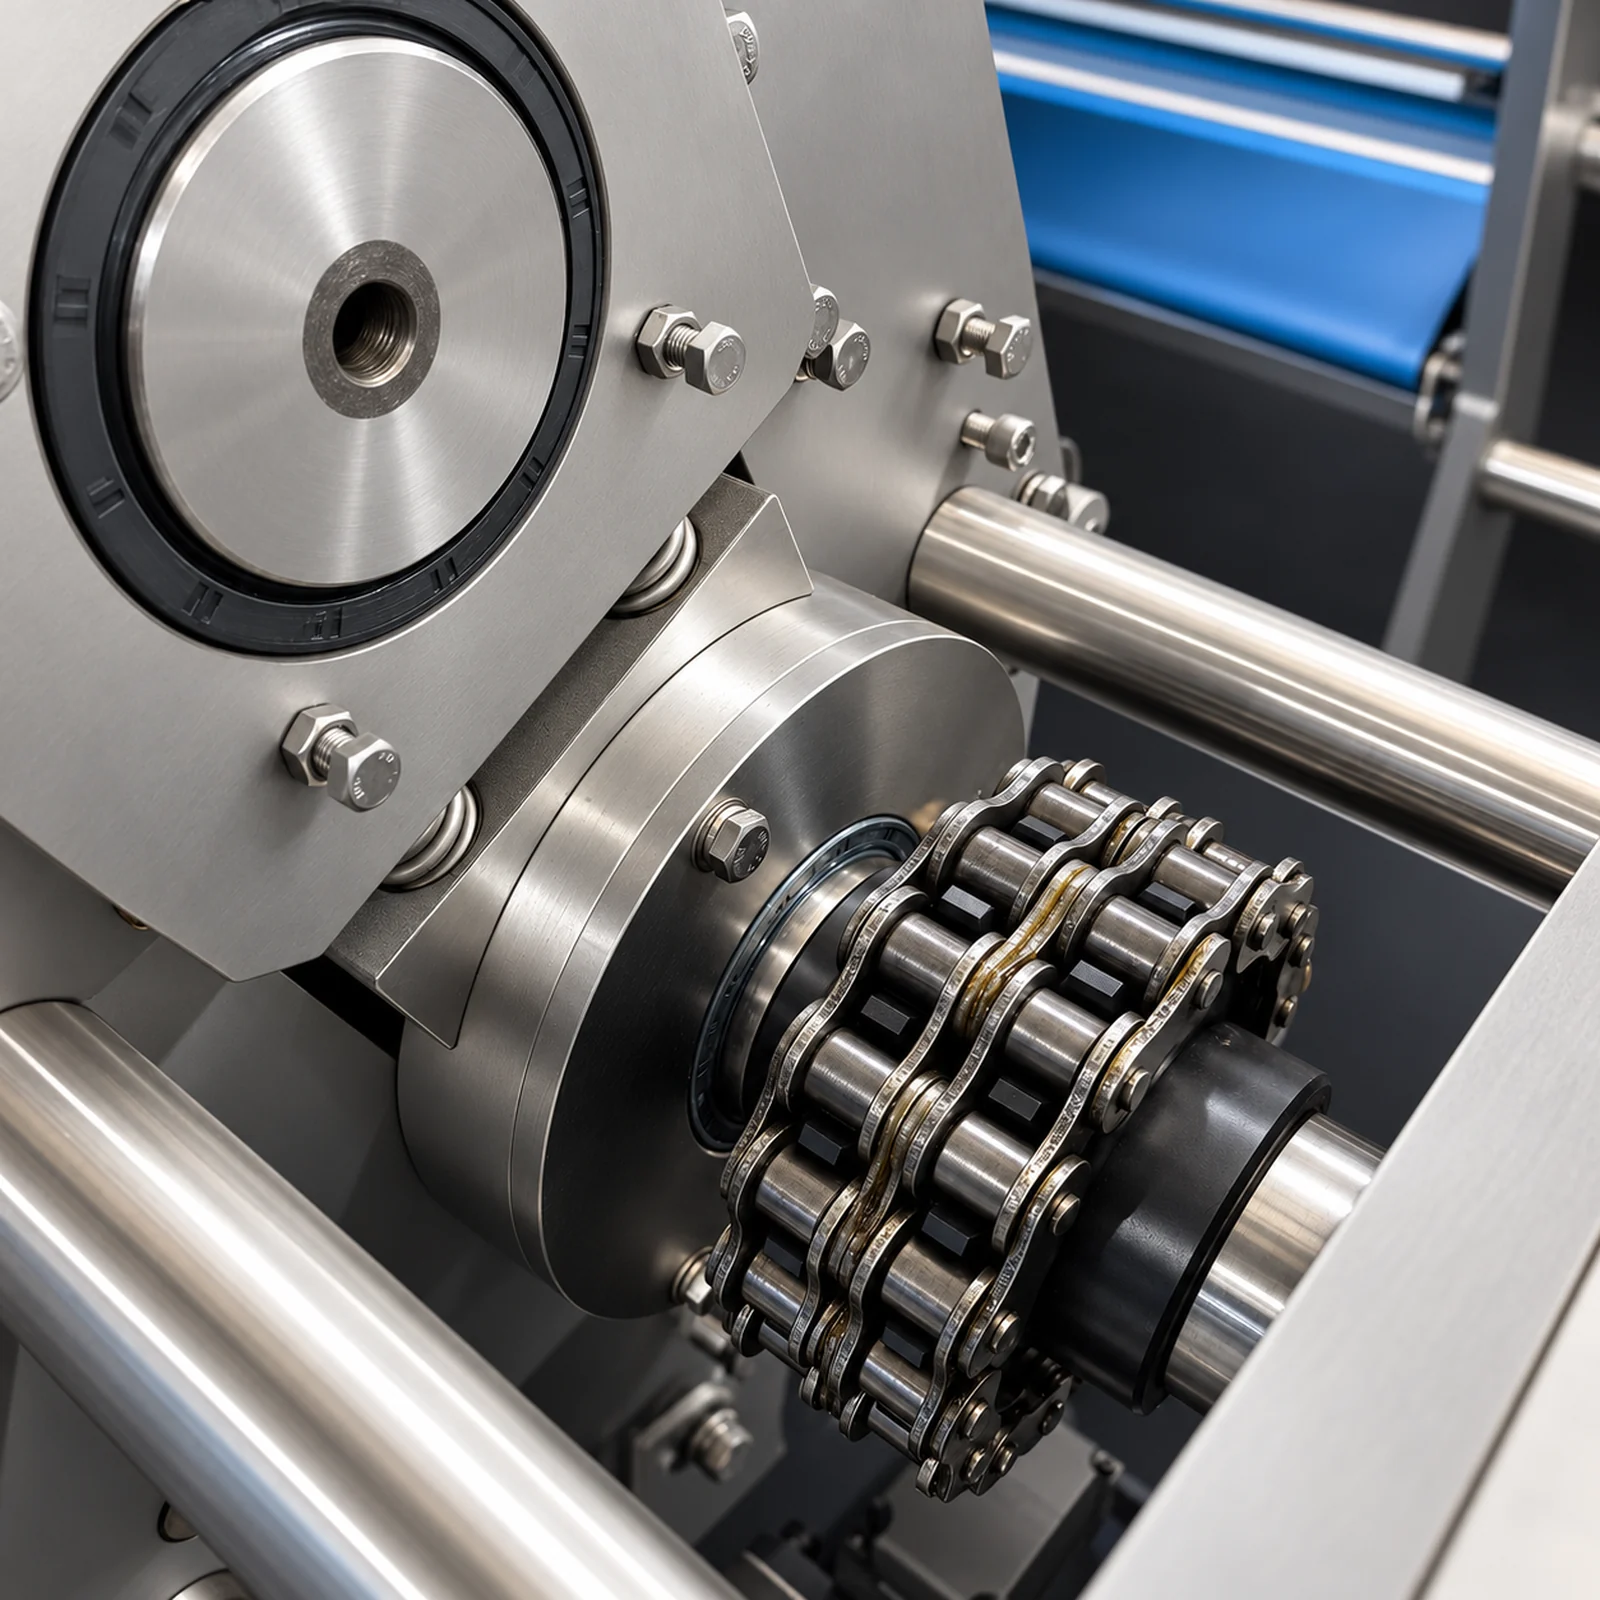
Chain drive and bearing
Original workshop photo ↗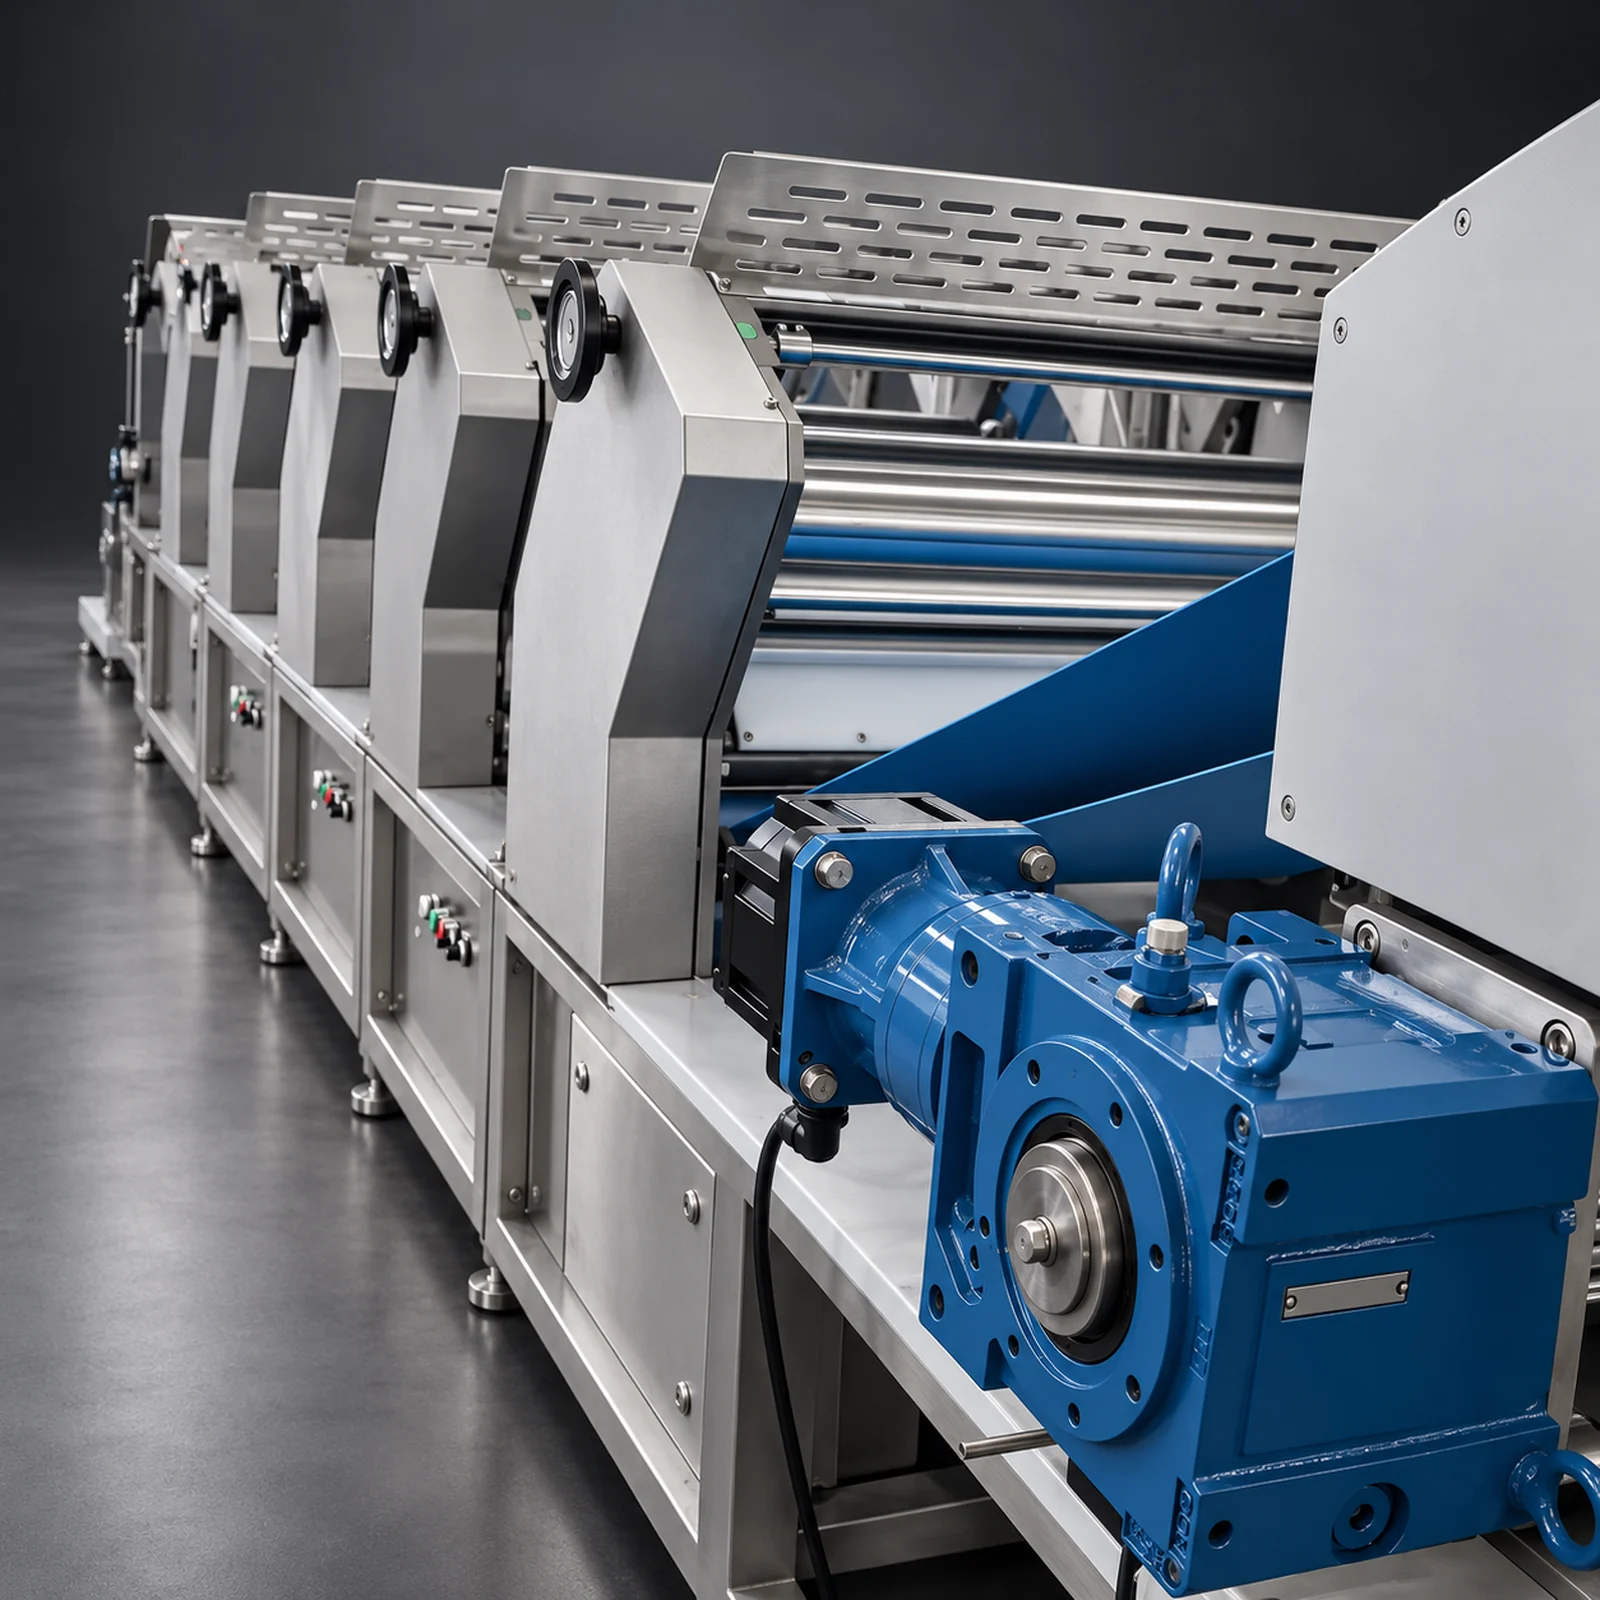
Reverse view and blue gear reducer
Original workshop photo ↗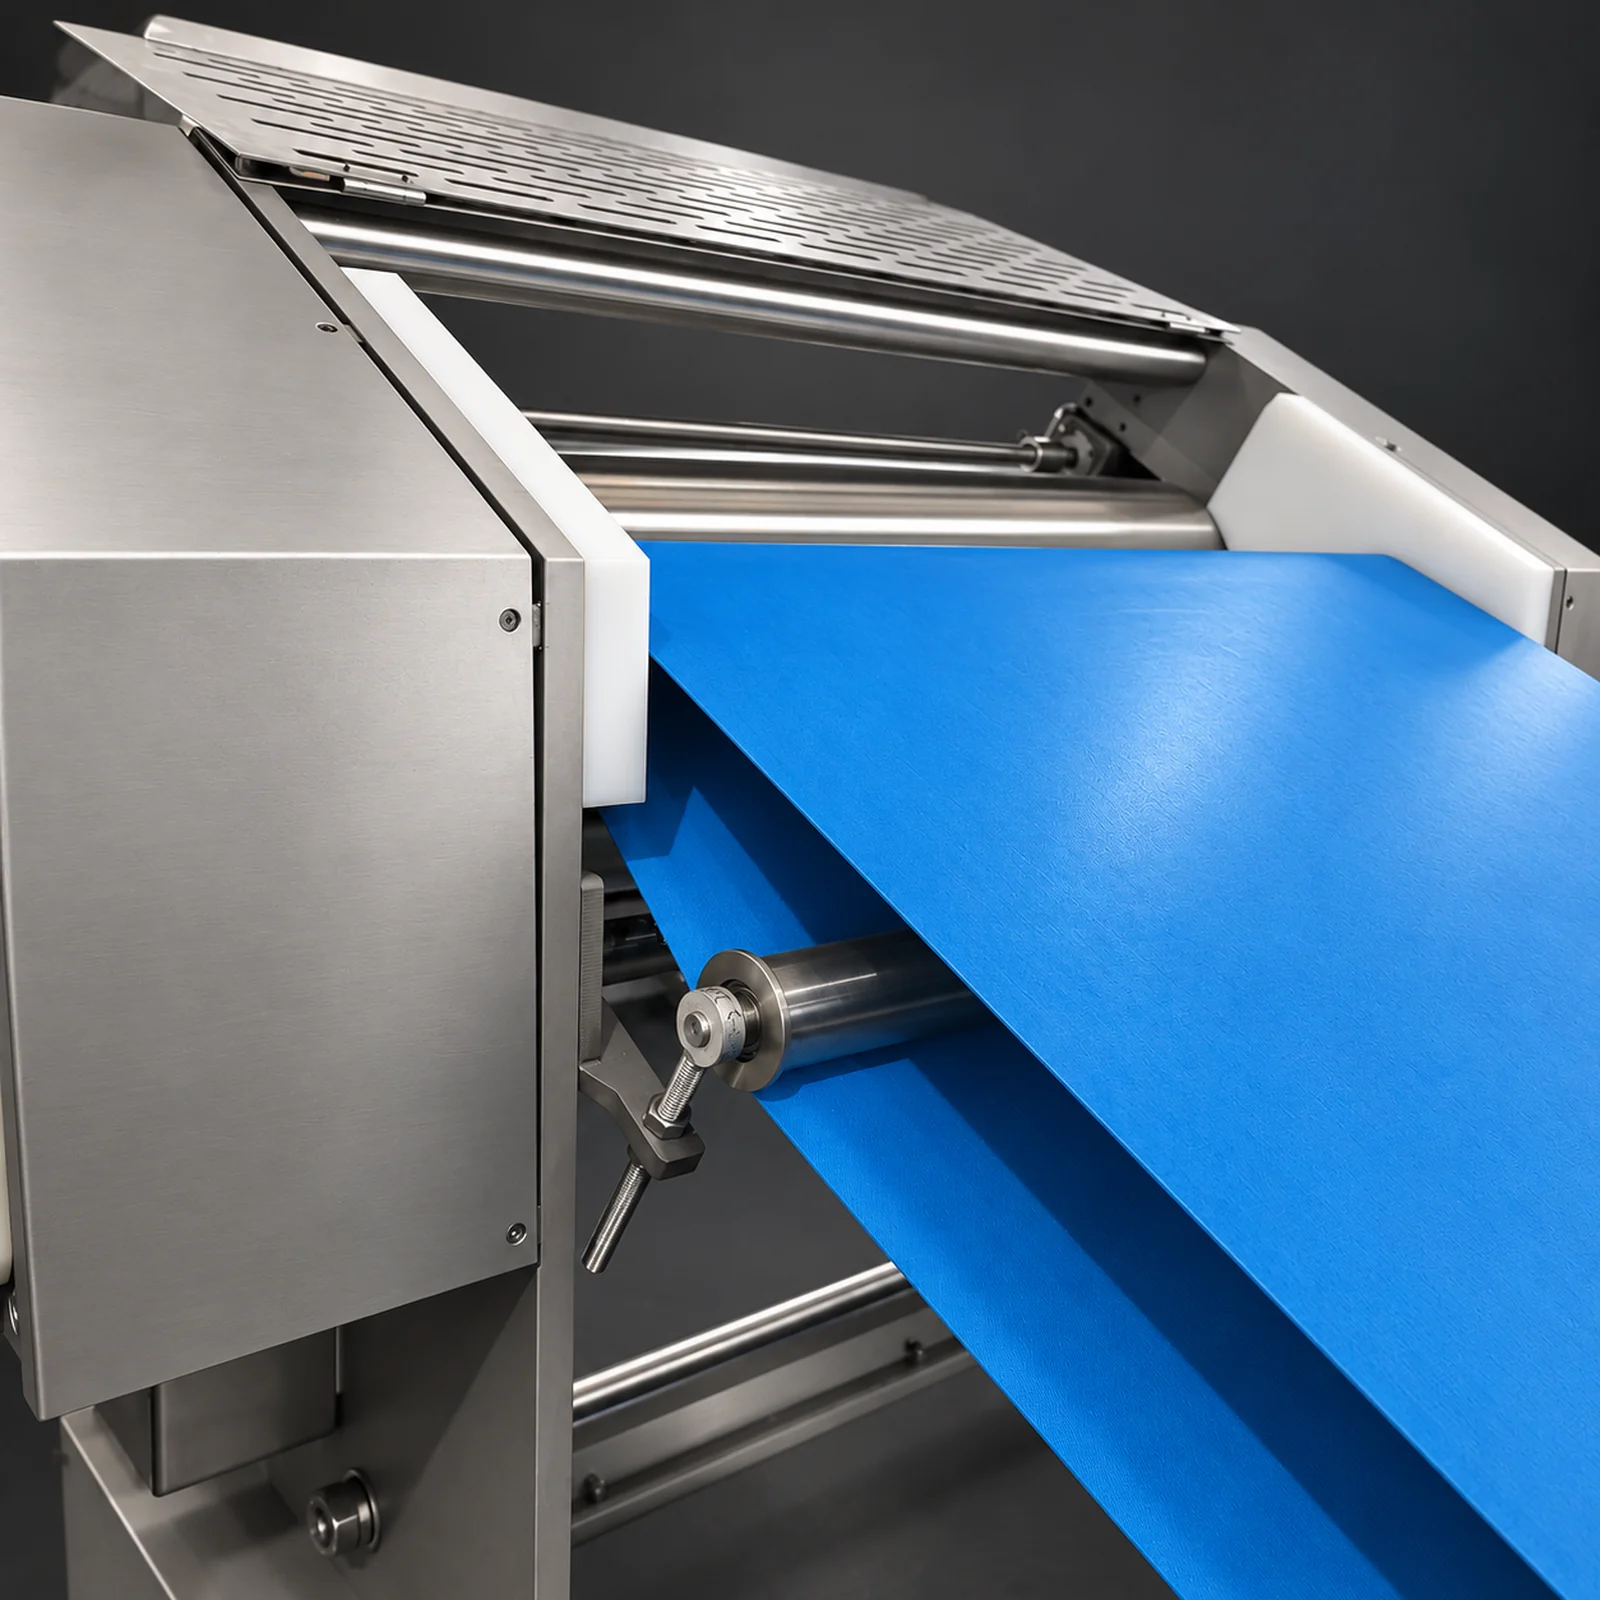
Conveyor transfer and tensioner
Original workshop photo ↗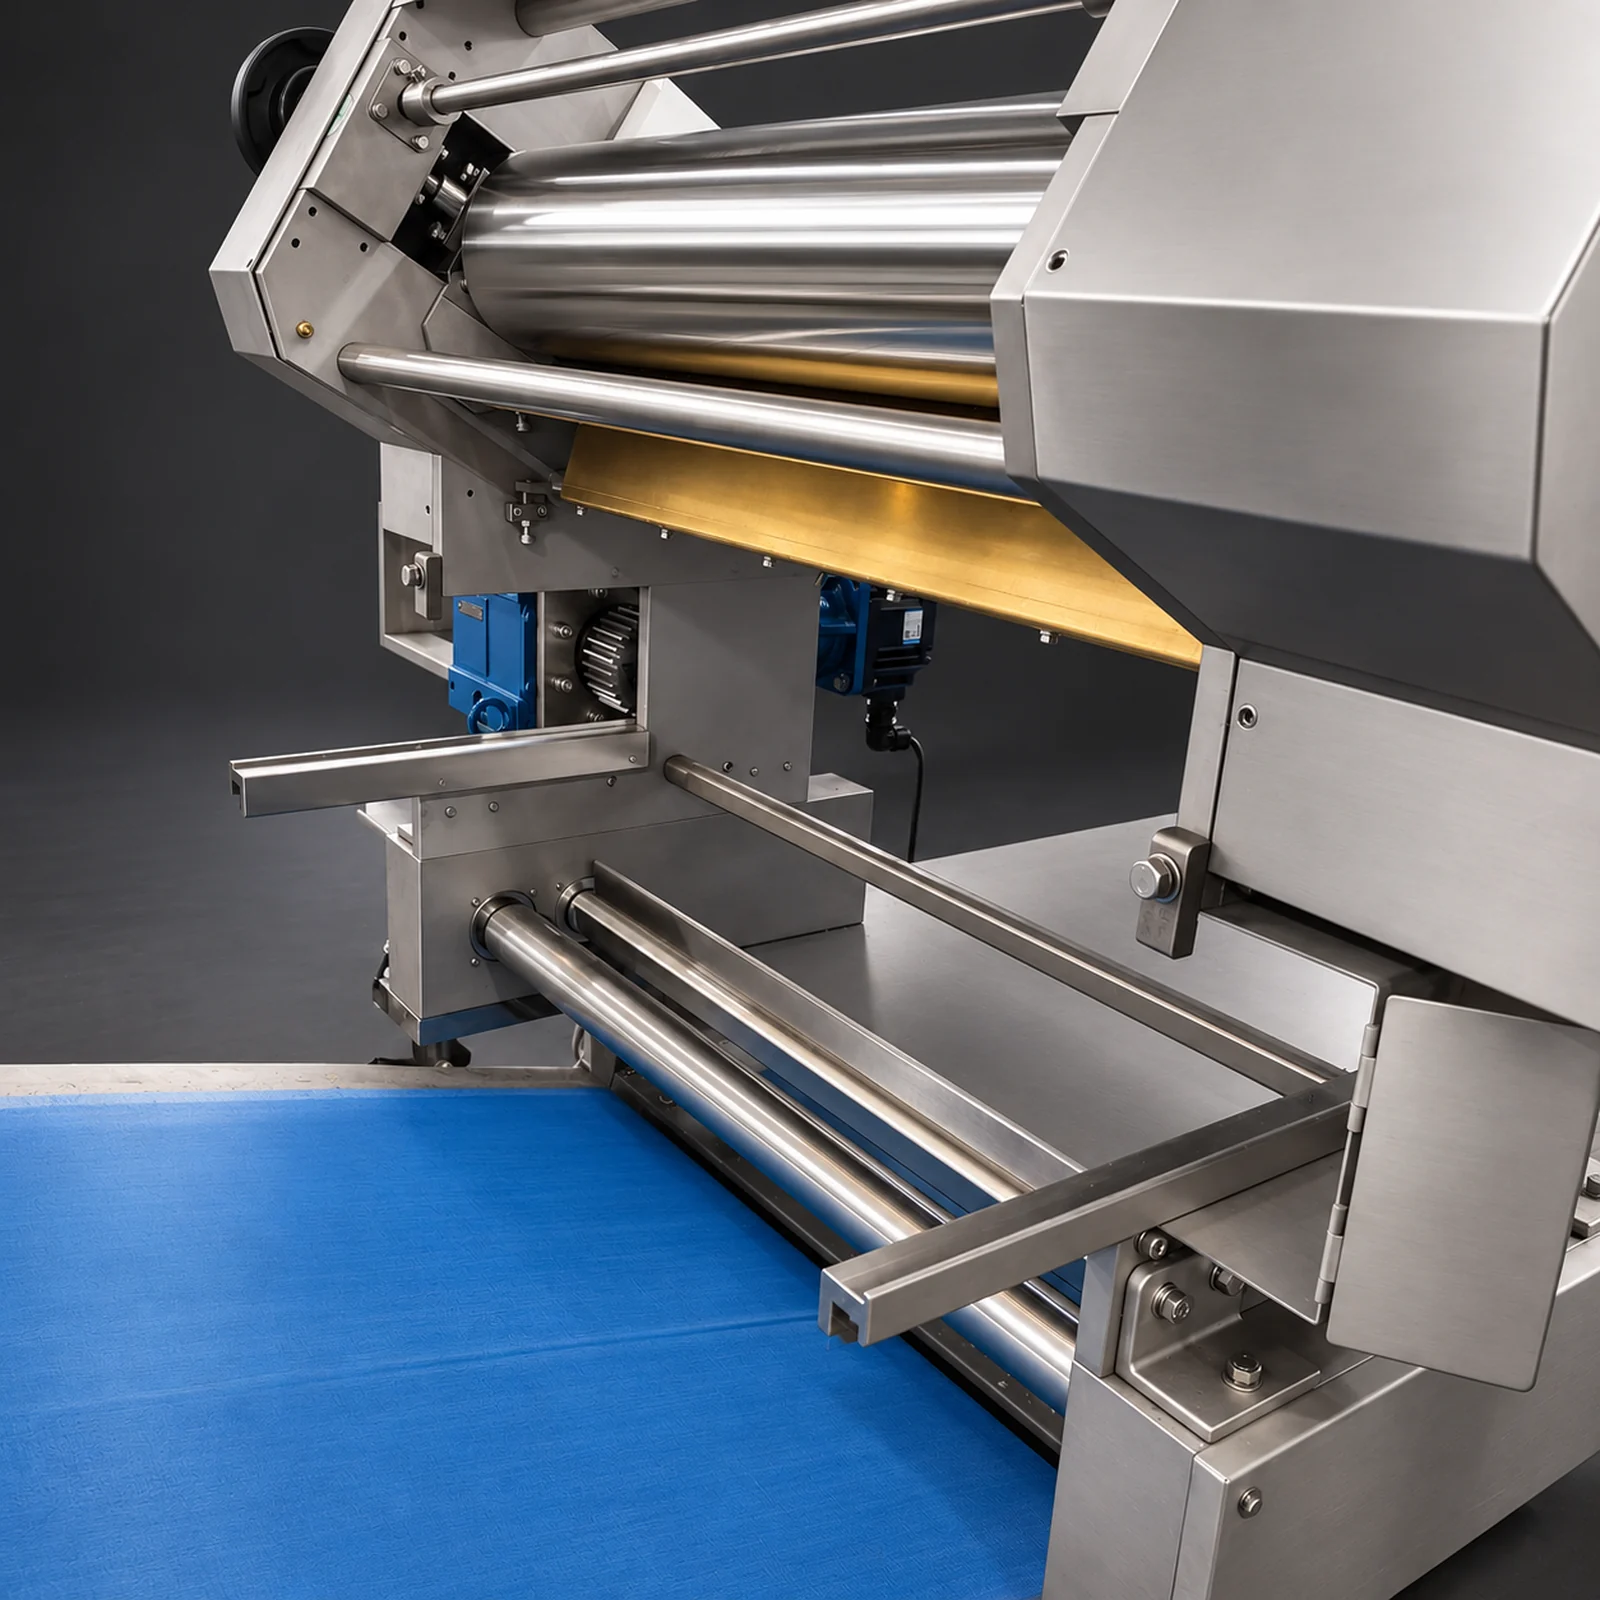
Rear roller support frame
Original workshop photo ↗Roller-bank overview
Original workshop photo ↗Follow the profile changes.
The confirmed arrangement moves from large to medium and small corrugated rollers, then through three smooth-roller stages. Match each pass to the incoming sheet and the condition required by the next stage.
Review the roller gap, sheet release, edge condition and supported transfer with representative dough. Agree the actual pass settings and resulting thicknesses during a material trial.
Roller gap and sheet thickness guide →Define the sheet at the knife head.
Specify the incoming sheet thickness, target noodle width or profile, cutter tooling and discharge arrangement. Confirm how the final smooth-roller stage hands the sheet to the noodle forming head.
Mixing, resting, cooling, length cutting, portioning and packaging should be identified separately in the complete production scope. This page focuses on the sheeting and forming body shown in the supplied M800 photographs.
Review the complete M800 project →Plan the roller route around your noodle.
Send the recipe, water addition relative to flour weight, incoming dough condition, target noodle dimensions and required accepted output. Include the factory layout, utilities and equipment before and after this core section.
Discuss the M800 core